Login or create an account
CloseReturning Customer
I am a returning customer
Login or create an account
CloseRegister Account
If you already have an account with us, please login at the login form.
Your Account Has Been Created!
Thank you for registering with vapeprovide!
You will be notified by e-mail once your account has been activated by the store owner.
If you have ANY questions about the operation of this online shop, please contact the store owner.
Account Logout
You have been logged off your account. It is now safe to leave the computer.
Your shopping cart has been saved, the items inside it will be restored whenever you log back into your account.
Geekvape Aegis Solo Mod Kit Instructions
Geek Vape Aegis Solo kit Instructions
Overview
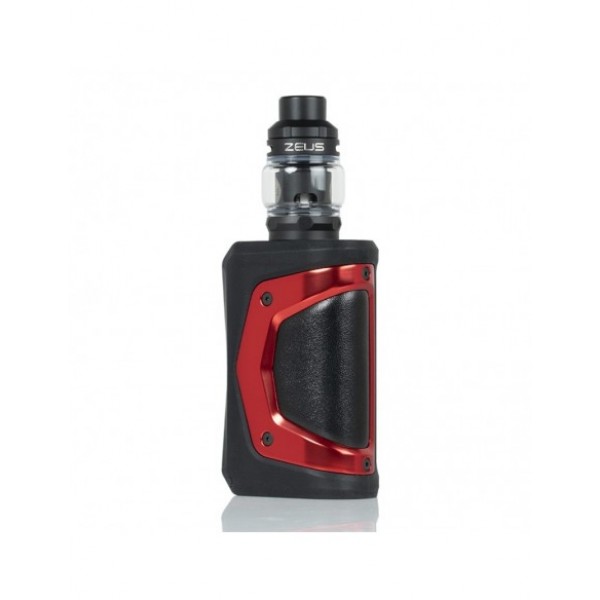
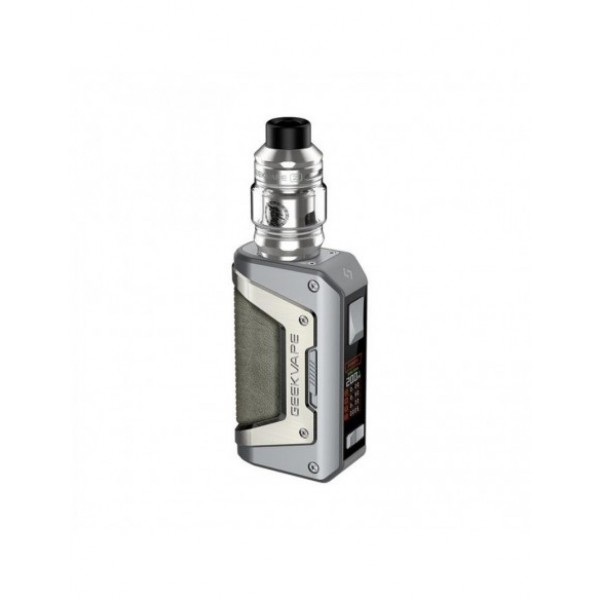
The Geek Vape Aegis Solo kit for starters is provided with all the features that formed a part of the Aegis Legend starter kit with regards to technology and durability. However, the glaring difference lies in the lightweight and small profile of the kit. A single external 108650 battery powers the Aegis Solo. Thus, you have the opportunity of swapping the battery as and when required while vaping up to 100W. The Solo mod is constructed using aluminum alloy. The design it is provided with gives the unit the features of being dust proof, waterproof, and shockproof. Furthermore, it also has a rugged look. The Solo Kit also includes Cerberus Tank by Geek Vape which would manage to impress you with its performance.
The Solo mod does not leave the legacy of Aegis family behind and is provided with a high level of shock absorbency. The mod device is capable of withstanding rough and dirty conditions as well. Die-cast zinc-aluminum alloy is used for the construction of the unit with an advanced molding technology of LSR injection. The device also has a soft grip along with an ergonomic design. The mod has the feature of multiple output modes such as BYPASS, Power/Wattage mode, TC-TCR, and VPC modes. The unit has a setting of the temperature coefficient of resistance, a technology that Geek Vape has created owing to which resistance of different heating elements can be adjusted to variable ranges.
The Solo mod features the Cerberus Sub Ohm tank by GeekVape. The capacity of the bubble glass of the tank is 5.5ml while the standard glass can hold up to 4ml of e-liquid. The quarter-turn top filling design makes sure that refilling is not challenging for you as it makes its way to the Cerberus via the dual airflow slots that are adjustable. A drip tip with 8mm wide bore is located at the top. The Cerberus is compatible with the IM cool family. Thus IM1, IM4, Mesh X1, and Mesh X2 coils can be used for replacement. The Cerberus tank that forms part of the Solo Kit also includes Aegis Super Mesh X2 coil. A spare X2 coil is also included in the kit.
The kit is quite a suitable option for beginners as it is waterproof, shock and dustproof along with being impressive in terms of features and design. You can get the kit at Vape4ever with ease.
Geek Vape Aegis Solo kit Features
- Powered Single 18650 battery
- A single external 18650 battery powers the device
- Provided with SLI silicon material
- Rapid response time
- Optimal stability
- Accuracy in temperature control
- Protection against short circuit
- Protection of 10 seconds cut-off.
- Protection against overheat
- Direction against over-current
- Protection against overcharging and discharging
- Protection of anti-dry
Geek Vape Aegis Solo kit Specifications
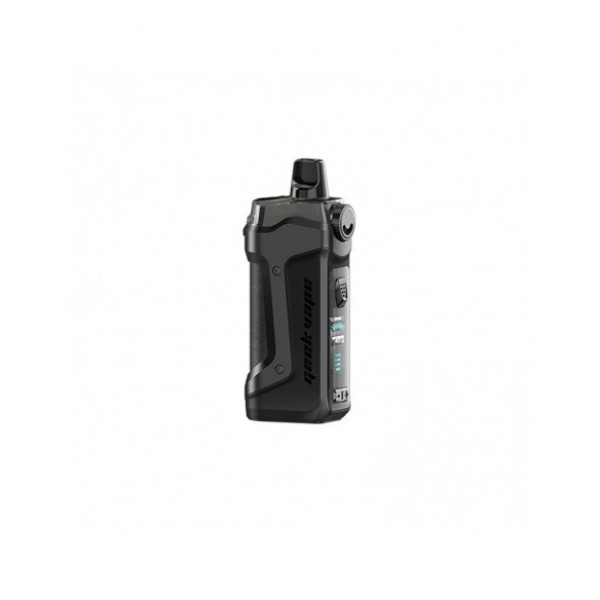
Aegis Solo Mod
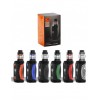
- Available in black, red, gunmetal, orange, blue and green colors
- Dimension: 86.4 x 41.2 x 31.5mm
- Made from leather, SLI silicon, and alloy
- AS-100 chipset
- 5 to 100W output power
- Input voltage within the range of 3.2V to 4.2V.
- The output voltage of 0.1V to 8V
- Powered by a single 18650 battery which has to be purchased separately
- 0.05 to 3ohm resistance range
- 5V 1.5A charger
- Output modes include Power, VPC, TC, TCR, Bypass
- Adjustable temperature setting from 100 to 315C and 200 to 600F
Cerberus Sub-ohm Tank
- Dimension: 25 x 42mm
- The capacity of 4 or 5.5ml
- Super Mesh X2 KA1 0.3ohm coil of 30-45W
- 510 thread connector
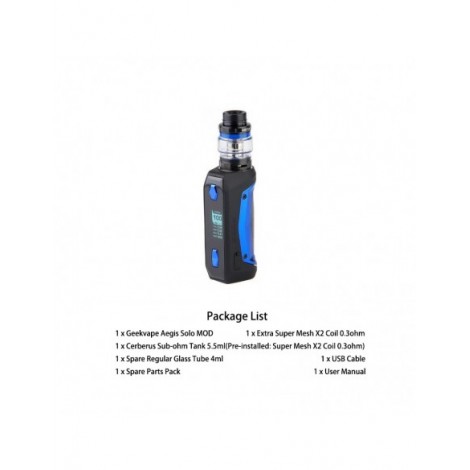
Geek Vape Aegis Solo kit Package Includes
- 1 X AEGIS SOLO 100W Box Mod
- 1 X Cerberus 25mm Sub-Ohm Tank
- 2 X 0.3ohm Super Mesh X2 Coil
- 1 X 4ml Spare Glass Tube
- 1 X Battery Door Assist Tool
- 1 X Spare Parts Pack
- 1 X Micro USB Cable
- 1 X User Manual
What's more on GeekVape Aegis Solo 100W Starter Kit?
- AS-100 Chipset
Optimal accuracy with stability in power output and rapid response time is ensured owing to the AS-100 Chipset. Precision in temperature control for titanium, stainless steel, and nickel 200 is also supported.
- First Grade Safety Features
- Protection of 10s cut-off
- Protection against short circuit
- Protection against overcharging and discharging
- Protection against overheat and over-current
- Anti-dry protection in temperature control mode
- IP67 Water, Shock, and Dust Protections
- IP67 Waterproof
The device is IP67 waterproof and can handle immersion in water for around half an hour if the depth is up to 1 meter.
- Shockproof
It is unlikely that you would break it by accident as it is shockproof.
- Dustproof
Cleaning it is quite easy and thus withstanding dirty conditions is not a problem for the model
- Cerberus Sub Ohm Tank
The Cerberus sub-ohm tank forms part of the kit. Further optimization is ensured with the ultimate super Mesh coil. The coil increases the surface area of heating contact, thereby making sure that large vapor with impress flavor is provided.
FAQ for Geek Vape Aegis Solo 100W Starter Kit Problems
How to Fill the Cerberus Tank?
- The first step is unscrewing the top cap. For this, you need to turn the top anti-clockwise up to 90degrees.
- Either filling slot can be used for filling the tank.
- Lastly, push and turn the top-cap clockwise up to 90 degrees to refit it.
How To Change The Coils?
- You will first have to make sure that the tank is completely empty
- Hold the base of the tank with a thumb while unscrewing the tank in the anti-clockwise direction.
- Turn the existing coil anti-clockwise to unscrew the existing coil
- Place the new coil in, screwing it in clockwise direction till it is tight.
- Refit the remaining tank and glass

